Technical Blogpost on a 2D physics engine
Context
This physics engine was made for the GPR440 course at the SAE Institute Geneva as a final project for my first year.
Resources
For this project, I took inspiration from the physics enging of Nicolas Schneider, who was my teacher for the GPR4400 course:
https://github.com/Surue/SFGE/tree/GPR4400
I also went to the internet to find many articles talking about these topics:
https://developer.mozilla.org/en-US/docs/Games/Techniques/3D_collision_detection (AABB and overlap)
https://www.geeksforgeeks.org/quad-tree/ (Quadtree)
https://gamedevelopment.tutsplus.com/tutorials/collision-detection-using-the-separating-axis-theorem–gamedev-169 (SAT algorithm)
https://fr.qwe.wiki/wiki/List_of_moments_of_inertia (Different moment of inertia, very useful to update the velocity)
https://en.wikipedia.org/wiki/Moment_of_inertia (For the moment of inertia in general)
https://perso.liris.cnrs.fr/nicolas.pronost/UUCourses/GamePhysics/lectures/lecture%207%20Collision%20Resolution.pdf (A wonderful presentation on collision resolution that was my go-to every time I was stuck)
The different parts of the physics engine
Before going into any of the different systems and objects in the physics engine, I’d like to take a second to talk basics. The first things I had to implement in the physics engine were the vector’s and matrix’s classes.
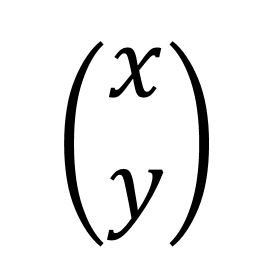
The vector class contains a struct that defines a vector in 2D, with 2 variables, x and y.
The matrix class, on the other hand, is contains a struct containing 2 vectors 2D, used in column-based (a11 = v1.x, a21 = v1.y, a12= v2.x, a22 = v2.y).
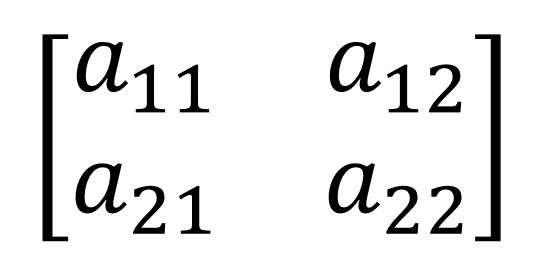
These two classes each have their own operations (+, -, etc.) as well as the Dot and Cross product for vectors and product matrix to matrix and matrix to vector.
The AABB (Axis Aligned Bounding Box)
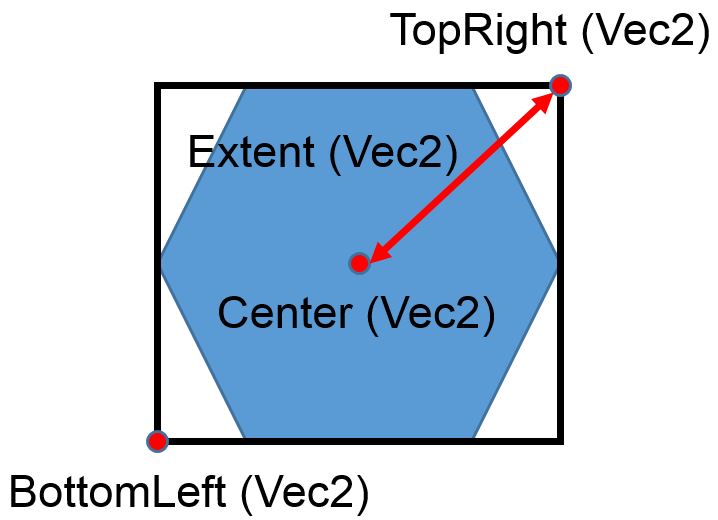
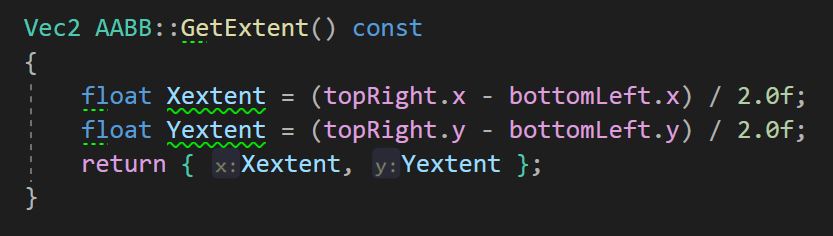
The AABB is, as its name suggests, a box bounding an object inside. No matter the shape of the object, it will always be a box if you AABB.
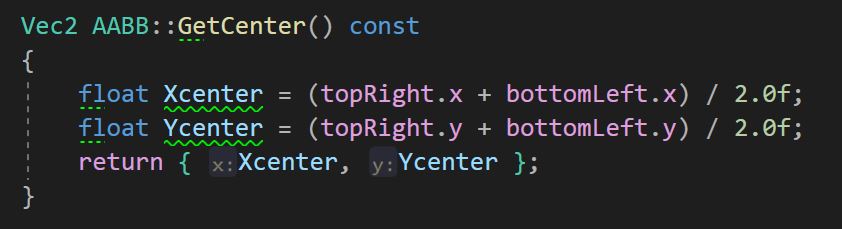
As we can see, the AABB is composed of 2 base vectors called “BottomLeft” and “TopRight. From these two vectors, we can calculate the center and extent of the AABB.
With an AABB, we can detect potential contacts between objects be testing if 2 AABBs are overlapping:
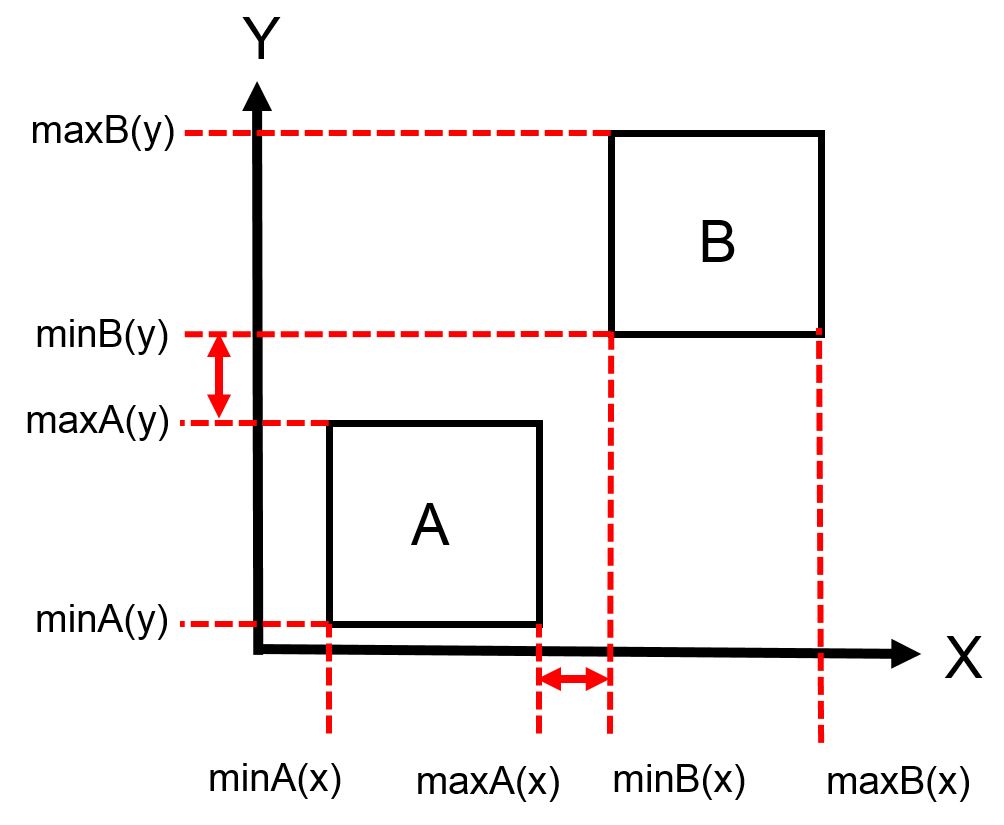

We can also know if one AABB is contained within another with the overlap.
The Quadtree
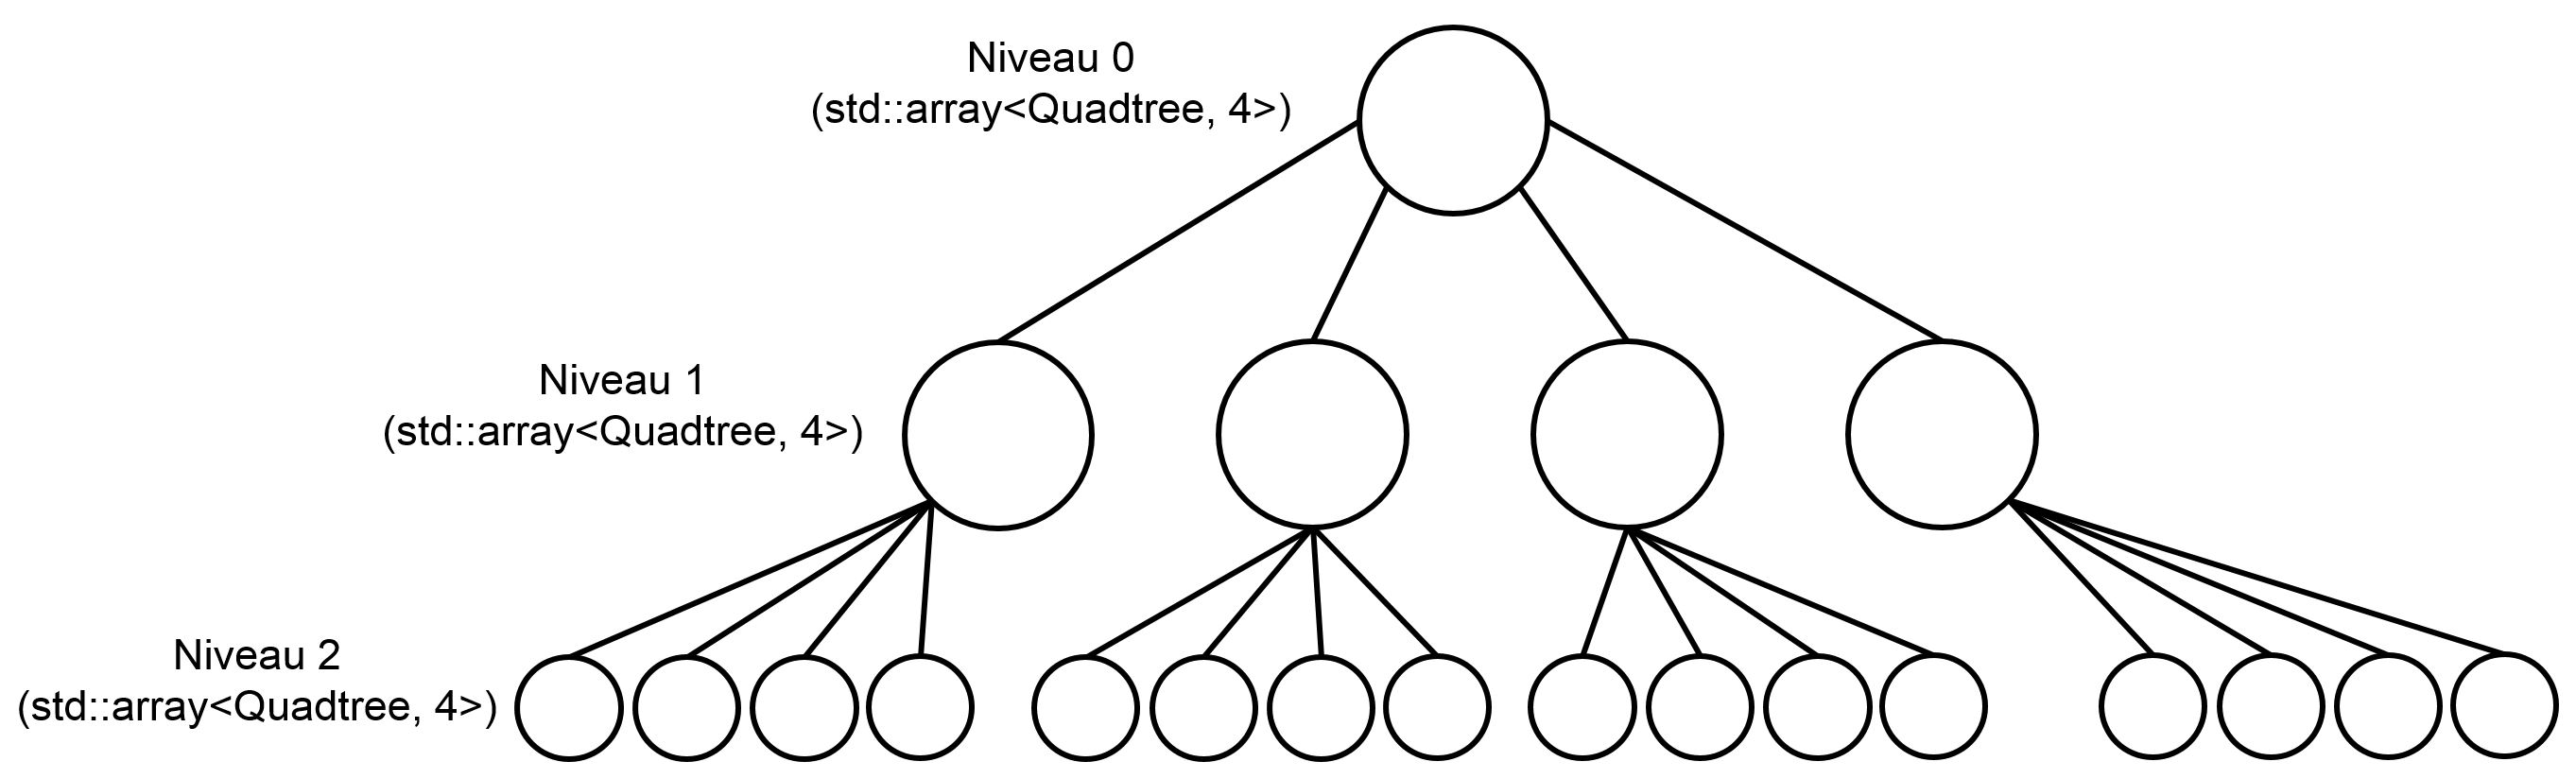
A quadtree, as seen on the above is a tree structure. The goal of a quadtree is to divide the space in smaller ones to avoid having to make too many collision tests. For that, we decide a maximum of objects that can be handled by the quadtree before it splits into four smaller spaces (QUADtree). It is similar to the BSP (Binary Space Partitioning) algorithm. We also have to decide the number of levels it can go before reaching its full capacity. It is very useful to reduce the number of collision tests necessary.
When the quadtree is set, it gathers all the possible contacts before sending them to whatever needs it. Which brings us to our next system, the contact and contact manager.
The Collision Detection (Contact and Contact Manager class)
Right before talking about the collisions, I want to say that, for this physics engine, we had 3 different shapes available: Circle, Box and Polygon (as seen below)
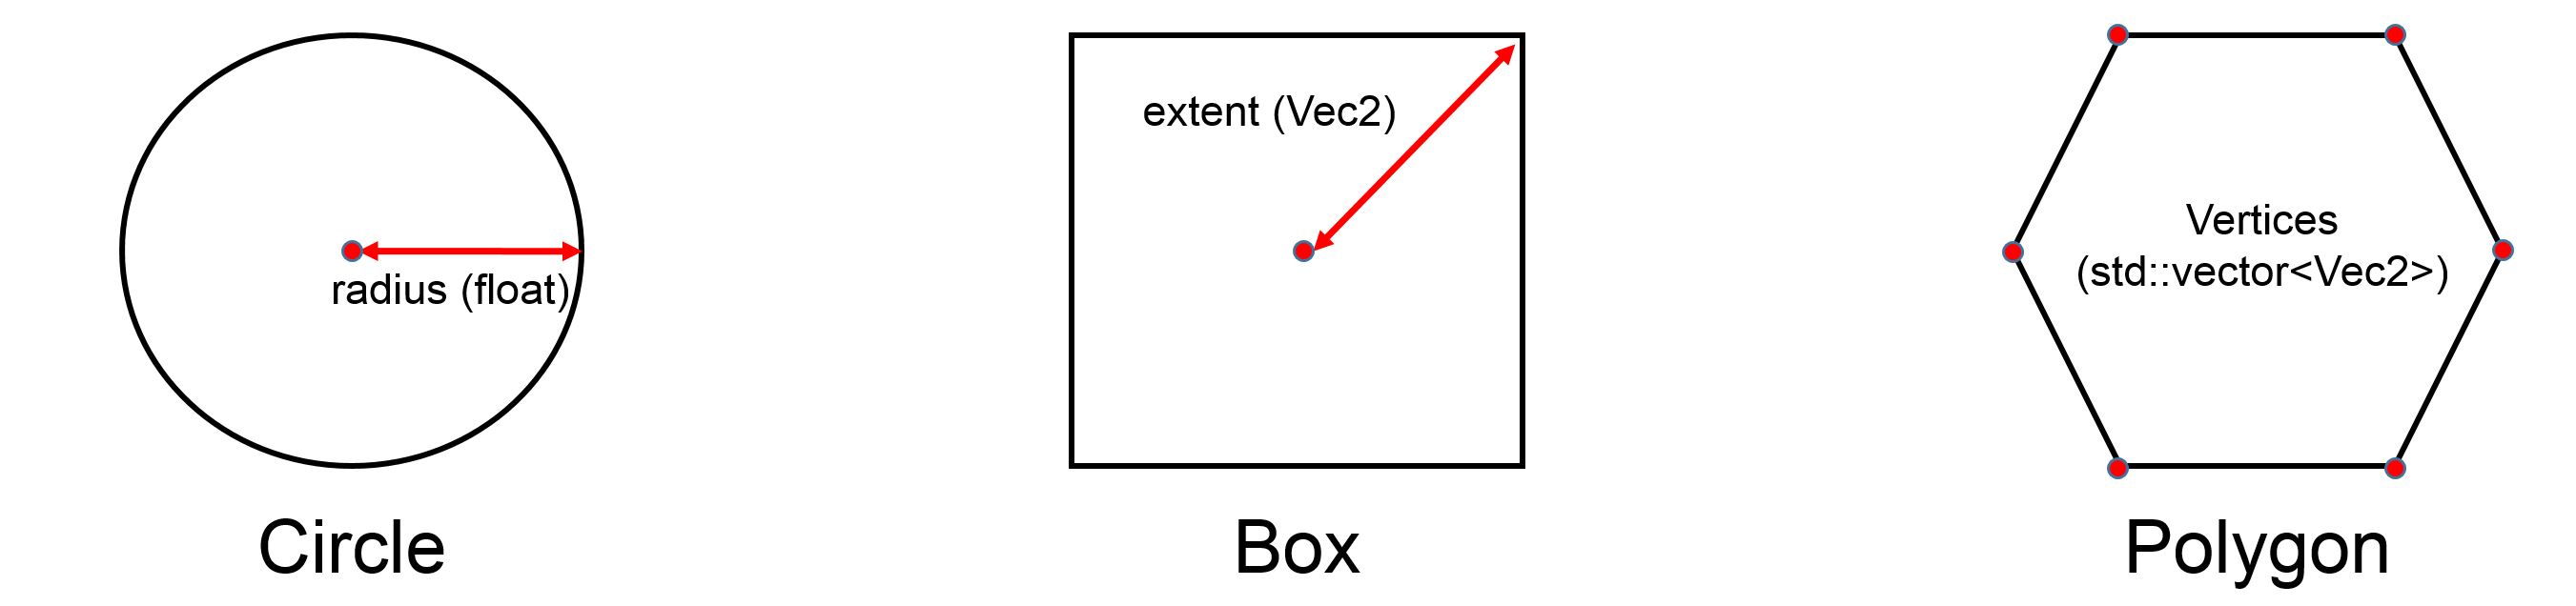
The different marks on the picture are the different variables we had at our disposal for theses shapes.
So, when a possible collision happened, the Contact Manager would go through a switch case to determine the shapes of the objects before using one of the versions of the SAT (Separate Axis Theorem) to see if there was real collision and if so, what was the contact point.
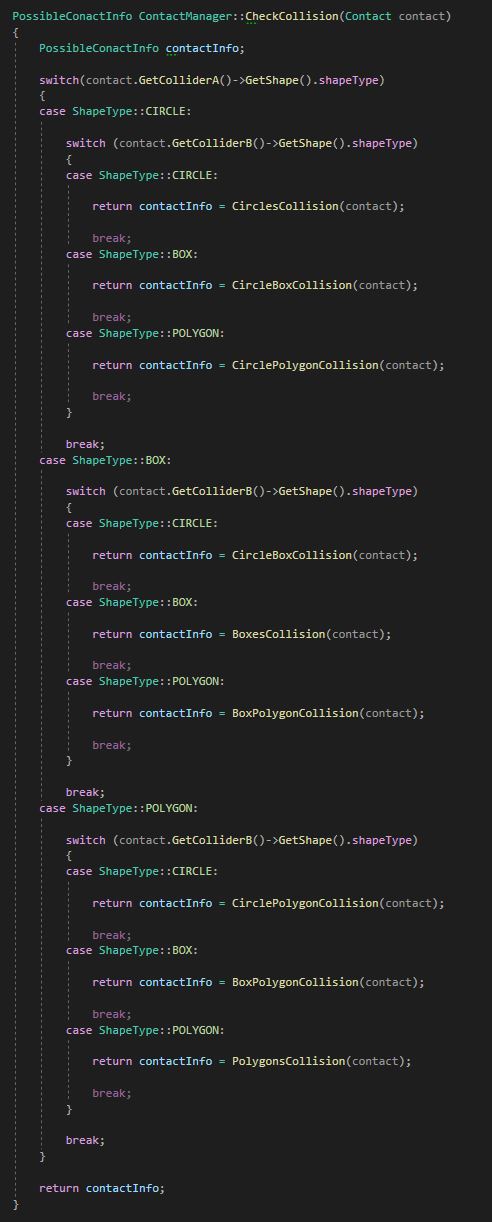
As you can see, I have many functions for collision detection (Circle-Circle, Box-Box, Polygon-Polygon, Circle-Box, Circle-Polygon and Box-Polygon).
The concept of the SAT algorithm is the same as the overlap function for AABB, but it takes into account the shape and the rotation of the shape. Instead of having just the classical X and Y axis, the SAT demands that we “look” at the objects from all angles:
Circle to circle collision is the easiest, because all I had to do is to test is the length between the 2 centers is greater or equal to the sum of the radius. For a Box shape, if you look at the picture above and take all normals, you find that there are actually 2 sets of identical normals so, for the Box, I only had 2 axis to test. For the Polygon, it is the same technique as the Box, but, unlike it, you don’t know if you have sets of identical normals, so I had to test each one.
Once I had all the axis, I had to do the Overlap function of AABB but on the specific axis I decided. At this point, another challenge arose. How was the computer to know what was the min and max of each objects?
It wasn’t a problem for the Circle as we saw just before, but for the Box and Polygon, I had to find all vertices of each and find which was closest and farthest to the other objects’ center. That way, I had my max and min on a specific axis.
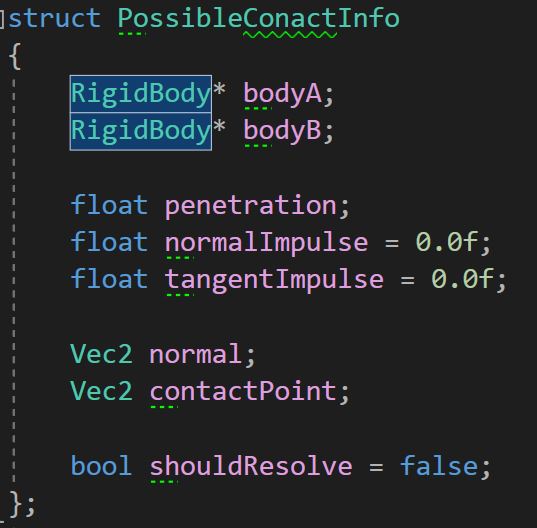
Once the SAT was done, it sent back a small struct I called “PossibleContactInfo” which kept all the informations I needed to solve the collision.
After that, the Contact Manager would call upon 2 functions from the contact class to update the position of the object and its velocity respectively.
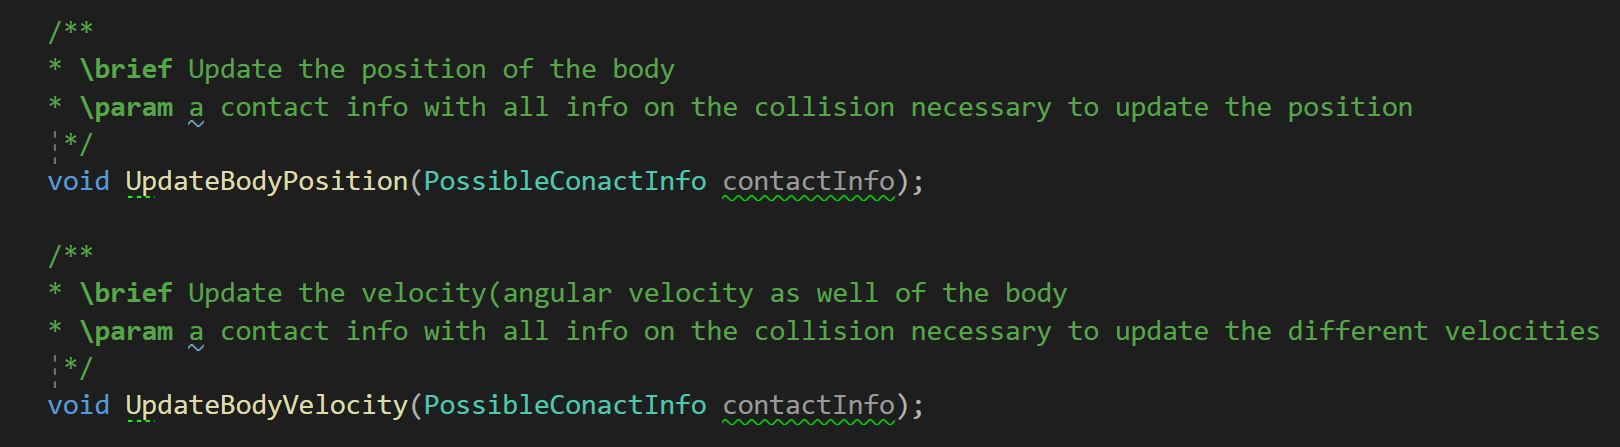
These two functions will use a lot of formulas that I found in the articles listed above in the “Resources” section.
The Update Velocity function, not only update the linear velocity alone, it updates the angular velocity to as well as the friction between the 2 objects.
Conclusion
In the previous part, I told you about what I had implemented, with the help of the resources cited above and I want to thank them because I wouldn’t have been able to do all of it alone.
Unfortunately, there are a few things I couldn’t finish, due to the time limit I had for the project. I didn’t have time to implement a raycast function (all and single) as well as explosions.
I would have liked to do these things and go deeper into the physics engine sometime, but I am somewhat glad of what I did. I had a few hiccups along the way, and I probably spent too much time looking at the theory, trying to understand everything instead of alternating more between theory and implementation.
But, at the end of the day, it was quite enjoyable and I learned a lot, so I say a final thank you to the authors of the different resources I used and to my teachers, who helped and pushed me along the way.